
环境准备:
JumpServer环境要求 硬件配置: 2个CPU核心, 4G 内存, 50G 硬盘(最低) 操作系统: CentOS7
Python = 3.6.x Mysql Server ≥ 5.7 Redis
关闭防火墙和Selinux
~]# setenforce 0  # 可以设置配置文件永久关闭
~]# systemctl stop firewalld.service ; systemctl disable firewalld.service
修改字符集,否则可能报 input/output error的问题,因为日志里打印了中文
~]# localedef -c -f UTF-8 -i zh_CN zh_CN.UTF-8
~]# export LC_ALL=zh_CN.UTF-8
~]# echo 'LANG=zh_CN.UTF-8' > /etc/locale.conf
安装依赖
yum install -y wget gcc epel-release python36-devel openssl openssl-devel automake zlib-devel编译安装Python-3.6.8
~]# mkdir -p /server/{tools,scripts}
~]# wget http://npm.taobao.org/mirrors/python/3.6.8/Python-3.6.8.tar.xz -P /server/tools/

~]# cd /server/tools/
~]# tar -xf Python-3.6.8.tar.xz;cd Python-3.6.8/
~]# ./configure --prefix=/application/Python-3.6.8 --with-openssl && make -j 4 && make install

添加环境变量:
~]#  echo 'export PATH=/application/Python-3.6.8/bin:$PATH' >> /etc/bashrc
~]# . /etc/bashrc
~]# python3 -V
Python 3.6.8
添加pythen3.6的虚拟环境
~]# cd /application/ && python3 -m venv py3
//进入python3.6的虚拟环境
~]# source /application/py3/bin/activate
(py3) [root@db01 /application]#

//退出虚拟环境
(py3) [root@db01 /application]# deactivate
安装jumpserver
上传jumpserver源码包
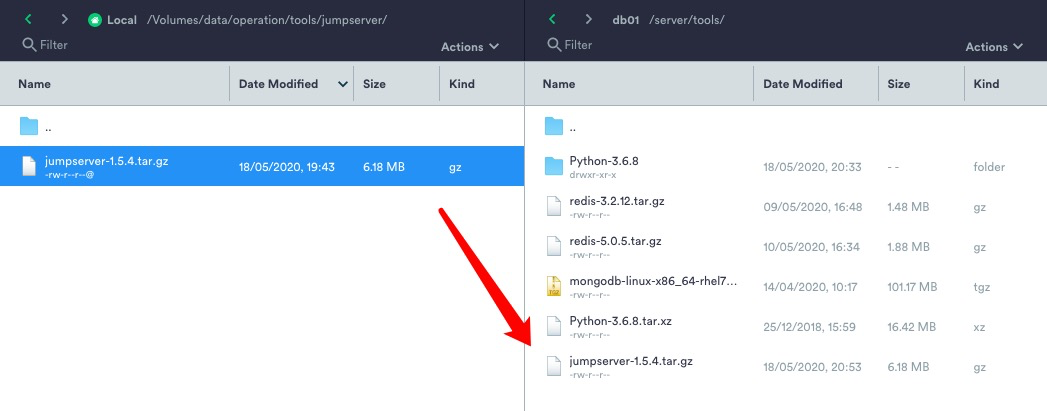
解压到/application
(py3) [root@db01 /application]# tar -xf /server/tools/jumpserver-1.5.4.tar.gz -C /application/
(py3) [root@db01 /application]# ln -s jumpserver-1.5.4 jumpserver
(py3) [root@db01 /application]# ll
总用量 0
lrwxrwxrwx  1 root   root    16 5月  18 20:55 jumpserver -> jumpserver-1.5.4
安装依赖
(py3) [root@db01 /application]# cd jumpserver/requirements/
(py3) [root@db01 /application/jumpserver/requirements]# ll
总用量 24
-rw-rw-r-- 1 root root  251 12月  4 11:14 alpine_requirements.txt
-rw-rw-r-- 1 root root  212 12月  4 11:14 deb_requirements.txt //debain系统所需依赖
-rw-rw-r-- 1 root root  359 12月  4 11:14 issues.txt
-rw-rw-r-- 1 root root   54 12月  4 11:14 mac_requirements.txt //mac系统所需依赖
-rw-rw-r-- 1 root root 1691 12月  4 11:14 requirements.txt //pip库依赖
-rw-rw-r-- 1 root root  219 12月  4 11:14 rpm_requirements.txt //redhat系列所需依赖

安装:
(py3) [root@db01 /application/jumpserver/requirements]# yum install -y $(cat rpm_requirements.txt)

pip更新
(py3) [root@db01 /application/jumpserver/requirements]# pip -V
pip 18.1 from /application/py3/lib/python3.6/site-packages/pip (python 3.6)

更新pip:
pip install --upgrade pip

(py3) [root@db01 /application/jumpserver/requirements]# pip -V
pip 20.1 from /application/py3/lib/python3.6/site-packages/pip (python 3.6)

安装Python模块:
(py3) [root@db01 /application/jumpserver/requirements]# pip install -r requirements.txt -i http://mirrors.aliyun.com/pypi/simple --trusted-host mirrors.aliyun.com
自动加载Python虚拟环境
git clone git://github.com/kennethreitz/autoenv.git #拉取懒人神器autoenv项目
echo 'source /application/autoenv/activate.sh' >> ~/.bashrc #添加到当前登录用户的家目录变量中
source ~/.bashrc   #刷新变量
[root@db01 ~]# echo "source /application/py3/bin/activate" > /application/jumpserver/.env  ## 添加jumpserver文件的全局变量
[root@db01 ~]# cd /application/jumpserver ## 首次进入jumpserver文件夹会有提示,按 y 即可
autoenv:
autoenv: WARNING:
autoenv: This is the first time you are about to source /application/jumpserver-1.5.4/.env:
autoenv:
autoenv:   --- (begin contents) ---------------------------------------
autoenv:     source /application/py3/bin/activate$
autoenv:
autoenv:   --- (end contents) -----------------------------------------
autoenv:
autoenv: Are you sure you want to allow this? (y/N) y
安装redis
参见:https://cakepanit.com/forward/321e3c2f.html 启动redis
[root@db01 ~]# ss -anput | grep ":6379"
tcp    LISTEN     0      511    127.0.0.1:6379                  *:*                   users:(("redis-server",pid=14776,fd=7))
tcp    LISTEN     0      511    10.0.0.51:6379                  *:*                   users:(("redis-server",pid=14776,fd=6))
安装MySQL5.7
参见:https://cakepanit.com/forward/a7fae6f0.html
mysql配置文件:
vim //data/mysql_3306/my.cnf
[mysqld]
basedir=/application/mysql
datadir=/data/mysql_3306/data
socket=/tmp/mysql.sock
log-error=/data/mysql_3306/mysql.log
log_bin=/data/binlog/mysql-bin
binlog_format=row
skip-name-resolve
server-id=52
gtid-mode=on
enforce-gtid-consistency=true
log-slave-updates=1
relay_log_purge=0

max_connections=1024
back_log=128
wait_timeout=60
interactive_timeout=7200
key_buffer_size=16M
query_cache_size=64M
query_cache_type=1
query_cache_limit=50M
max_connect_errors=20
sort_buffer_size=2M
max_allowed_packet=32M
join_buffer_size=2M
thread_cache_size=200
innodb_buffer_pool_size=1024M
innodb_flush_log_at_trx_commit=1
innodb_log_buffer_size=32M
innodb_log_file_size=128M
innodb_log_files_in_group=3
binlog_cache_size=2M
max_binlog_cache_size=8M
max_binlog_size=512M
expire_logs_days=7
read_buffer_size=2M
read_rnd_buffer_size=2M
bulk_insert_buffer_size=8M
[client]
socket=/tmp/mysql.sock
systemd启动mysql
cat >/etc/systemd/system/mysqld.service <<EOF
[Unit]
Description=MySQL Server
Documentation=man:mysqld(8)
Documentation=http://dev.mysql.com/doc/refman/en/using-systemd.html
After=network.target
After=syslog.target
[Install]
WantedBy=multi-user.target
[Service]
User=mysql
Group=mysql
ExecStart=/application/mysql/bin/mysqld --defaults-file=/data/mysql_3306/my.cnf
LimitNOFILE = 5000
EOF
创建库
create database jumpserver default charset utf8mb4;
grant all on jumpserver.* to 'jumpserver'@'127.0.0.1' identified by '123456';#授权一个用户
FLUSH PRIVILEGES; #刷新权限
修改配置文件
(py3) [root@db01 /application/jumpserver]# cp config_example.yml config.yml
cat > /application/jumpserver/config.yml <<'EOF'
# 加密秘钥 生产环境中请修改为随机字符串,请勿外泄, 可使用命令生成
# cat /dev/urandom | tr -dc A-Za-z0-9 | head -c 49;echo

# 加密秘钥 生产环境中请修改为随机字符串,请勿外泄, 可使用命令生成
SECRET_KEY: J4DQDEpdAbl0m1lPryf3qnr9CE7bdFQ6qoXlEwnlQ9P2Tx65G

# 预共享Token coco和guacamole用来注册服务账号,不在使用原来的注册接受机制
BOOTSTRAP_TOKEN: gBlsegc0bh3Hon1t

# DEBUG 模式 开启DEBUG后遇到错误时可以看到更多日志
DEBUG: false

# 日志级别
LOG_LEVEL: ERROR
# LOG_DIR:

# 浏览器Session过期时间,默认24小时, 也可以设置浏览器关闭则过期
# SESSION_COOKIE_AGE: 86400
SESSION_EXPIRE_AT_BROWSER_CLOSE: true

# 数据库设置
# See https://docs.djangoproject.com/en/1.10/ref/settings/#databases

# SQLite setting:
# 使用单文件sqlite数据库
# DB_ENGINE: sqlite3
# DB_NAME:

# 使用Mysql作为数据库
DB_ENGINE: mysql
DB_HOST: 127.0.0.1
DB_PORT: 3306
DB_USER: jumpserver
DB_PASSWORD: '123456'
DB_NAME: jumpserver

# /manage.py runserver 127.0.0.1:8080
# 运行时绑定端口
HTTP_BIND_HOST: 0.0.0.0
HTTP_LISTEN_PORT: 8080
WS_LISTEN_PORT: 8070

# Redis配置
REDIS_HOST: 127.0.0.1
REDIS_PORT: 6379
# REDIS_PASSWORD:
# REDIS_DB_CELERY: 3
# REDIS_DB_CACHE: 4

# 使用OpenID 来进行认证设置
# BASE_SITE_URL: http://localhost:8080
# AUTH_OPENID: false  # True or False
# AUTH_OPENID_SERVER_URL: https://openid-auth-server.com/
# AUTH_OPENID_REALM_NAME: realm-name
# AUTH_OPENID_CLIENT_ID: client-id
# AUTH_OPENID_CLIENT_SECRET: client-secret
# AUTH_OPENID_IGNORE_SSL_VERIFICATION: True
# AUTH_OPENID_SHARE_SESSION: True

# 使用Radius来认证
# AUTH_RADIUS: false
# RADIUS_SERVER: localhost
# RADIUS_PORT: 1812
# RADIUS_SECRET:

# LDAP 搜索分页数量
# AUTH_LDAP_SEARCH_PAGED_SIZE: 1000

# 定时同步用户
# 启用 / 禁用
# AUTH_LDAP_SYNC_IS_PERIODIC: True
# 同步间隔 (单位: 时) (优先)
# AUTH_LDAP_SYNC_INTERVAL: 12
# Crontab 表达式
# AUTH_LDAP_SYNC_CRONTAB: * 6 * * *
#
# LDAP 用户登录时仅允许在用户列表中的用户执行 LDAP Server 认证
# AUTH_LDAP_USER_LOGIN_ONLY_IN_USERS: False
#
# LDAP 认证时如果日志中出现以下信息将参数设置为 0 (详情参见:https://www.python-ldap.org/en/latest/faq.html)
# In order to perform this operation a successful bind must be completed on the connection
# AUTH_LDAP_OPTIONS_OPT_REFERRALS: -1


# OTP settings
# OTP/MFA 配置
# OTP_VALID_WINDOW: 0
# OTP_ISSUER_NAME: Jumpserver

# Perm show single asset to ungrouped node
# 是否把未授权节点资产放入到 未分组 节点中
# PERM_SINGLE_ASSET_TO_UNGROUP_NODE: false
EOF
初始化jumpserver
新版本更新了运行脚本,使用方式./jms start|stop|status|restart all 后台运行请添加 -d 参数
(py3) [root@db01 /application/jumpserver]# ./jms start -d
gunicorn is running: 17953
celery_ansible is running: 17969
celery_default is running: 17986
beat is running: 17994
flower is running: 18009
daphne is running: 18019
安装SSH Server和WebSocket Server
下载koko,旧版本为coco
(py3) [root@db01 /application]# cd /server/tools/
(py3) [root@db01 /server/tools]# wget https://demo.jumpserver.org/download/koko/1.5.4/koko-master-linux-amd64.tar.gz
(py3) [root@db01 /server/tools]# tar -xf koko-master-linux-amd64.tar.gz -C /application/
(py3) [root@db01 /server/tools]# cd /application/;ll
drwxr-xr-x  5    501 games    89 5月  13 12:53 kokodir
配置koko的预共享密钥
(py3) [root@db01 /application/kokodir]# cp config_example.yml config.yml
(py3) [root@db01 /application/kokodir]# vim config.yml
9 BOOTSTRAP_TOKEN: gBlsegc0bh3Hon1t //和jumpserver中保持一致
28 LOG_LEVEL: ERROR //日志级别

(py3) [root@db01 /application]# chown root.root -R kokodir

启动koko
(py3) [root@db01 /application/kokodir]# ./koko -d
Guacamole
介绍:用于支持windows主机的堡垒机服务,我这里直接跳过。 可参考:https://jumpserver.readthedocs.io/zh/master/install/step_by_step/#9-guacamole
luna前端组件
cd /server/tools/
wget https://github.com/jumpserver/luna/releases/download/1.5.4/luna.tar.gz
(py3) [root@db01 /server/tools]# tar -xf luna.tar.gz -C /application/
(py3) [root@db01 /application]# chown root.root -R luna
编译安装nginx
cd /server/tools/
wget http://nginx.org/download/nginx-1.16.1.tar.gz
tar -xf http://nginx.org/download/nginx-1.16.1.tar.gz
(py3) [root@db01 /server/tools]# cd nginx-1.16.1/
环境准备
pcre:URL重写软件,即实现伪静态需要这个软件
#安装依赖
yum install pcre pcre-devel -y
yum install openssl openssl-devel -y  #https加密用他。
#创建用户
useradd -s /sbin/nologin -M www
10.1编译Nginx
./configure  --user=www --group=www --prefix=/application/nginx-1.16.1 --with-http_stub_status_module  --with-http_ssl_module --with-pcre&&make&& make install
ln -s /application/nginx-1.16.1/ /application/nginx
10.2添加环境变量
echo 'export PATH="/application/nginx/sbin/:$PATH"'>>/etc/bashrc
. /etc/bashrc
(py3) [root@db01 /application/jumpserver]# nginx -v
nginx version: nginx/1.16.1
10.3配置nginx
(py3) [root@db01 /application/nginx/conf]# egrep -v "^$|#" nginx.conf.default >nginx.conf
(py3) [root@db01 /application/nginx/conf]# cat nginx.conf
worker_processes  1;
events {
    worker_connections  1024;
}
http {
    include       mime.types;
    default_type  application/octet-stream;
    sendfile        on;
    keepalive_timeout  65;
    server {
        listen       80;
        server_name  localhost;
        location / {
            root   html;
            index  index.html index.htm;
        }
        error_page   500 502 503 504  /50x.html;
        location = /50x.html {
            root   html;
        }
    }
    include /application/nginx/conf.d/*.conf;
}
10.4修改配置:
mkdir -p /application/nginx/conf.d/
cat > /application/nginx/conf/nginx.conf<<'EOF'
worker_processes 1;
events {
worker_connections 1024;
}
http {
include mime.types;
default_type application/octet-stream;
sendfile on;
keepalive_timeout 65;
server {
listen 80;
client_max_body_size 100m; # 录像及文件上传大小限制
location /luna/ {
try_files $uri / /index.html;
alias /application/luna/; # luna 路径, 如果修改安装目录, 此处需要修改
}
location /media/ {
add_header Content-Encoding gzip;
root /application/jumpserver/data/; # 录像位置, 如果修改安装目录, 此处需要修改
}
location /static/ {
root /application/jumpserver/data/; # 静态资源, 如果修改安装目录, 此处需要修改
}
location /koko/ {
proxy_pass http://localhost:5000;
proxy_buffering off;
proxy_http_version 1.1;
proxy_set_header Upgrade $http_upgrade;
proxy_set_header Connection "upgrade";
proxy_set_header X-Real-IP $remote_addr;
proxy_set_header Host $host;
proxy_set_header X-Forwarded-For $proxy_add_x_forwarded_for;
access_log off;
}
location /guacamole/ {
proxy_pass http://localhost:8081/;
proxy_buffering off;
proxy_http_version 1.1;
proxy_set_header Upgrade $http_upgrade;
proxy_set_header Connection $http_connection;
proxy_set_header X-Real-IP $remote_addr;
proxy_set_header Host $host;
proxy_set_header X-Forwarded-For $proxy_add_x_forwarded_for;
access_log off;
}
location /ws/ {
proxy_set_header X-Real-IP $remote_addr;
proxy_set_header Host $host;
proxy_set_header X-Forwarded-For $proxy_add_x_forwarded_for;
proxy_pass http://localhost:8070;
proxy_http_version 1.1;
proxy_buffering off;
proxy_set_header Upgrade $http_upgrade;
proxy_set_header Connection "upgrade";
}
location / {
proxy_pass http://localhost:8080;
proxy_set_header X-Real-IP $remote_addr;
proxy_set_header Host $host;
proxy_set_header X-Forwarded-For $proxy_add_x_forwarded_for;
}
}
}
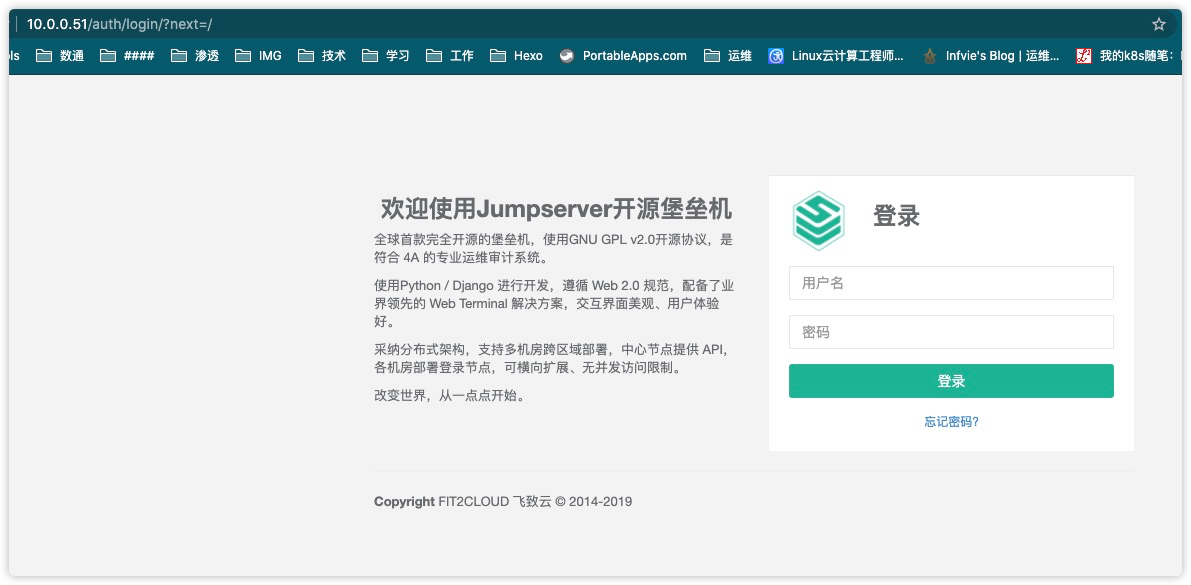
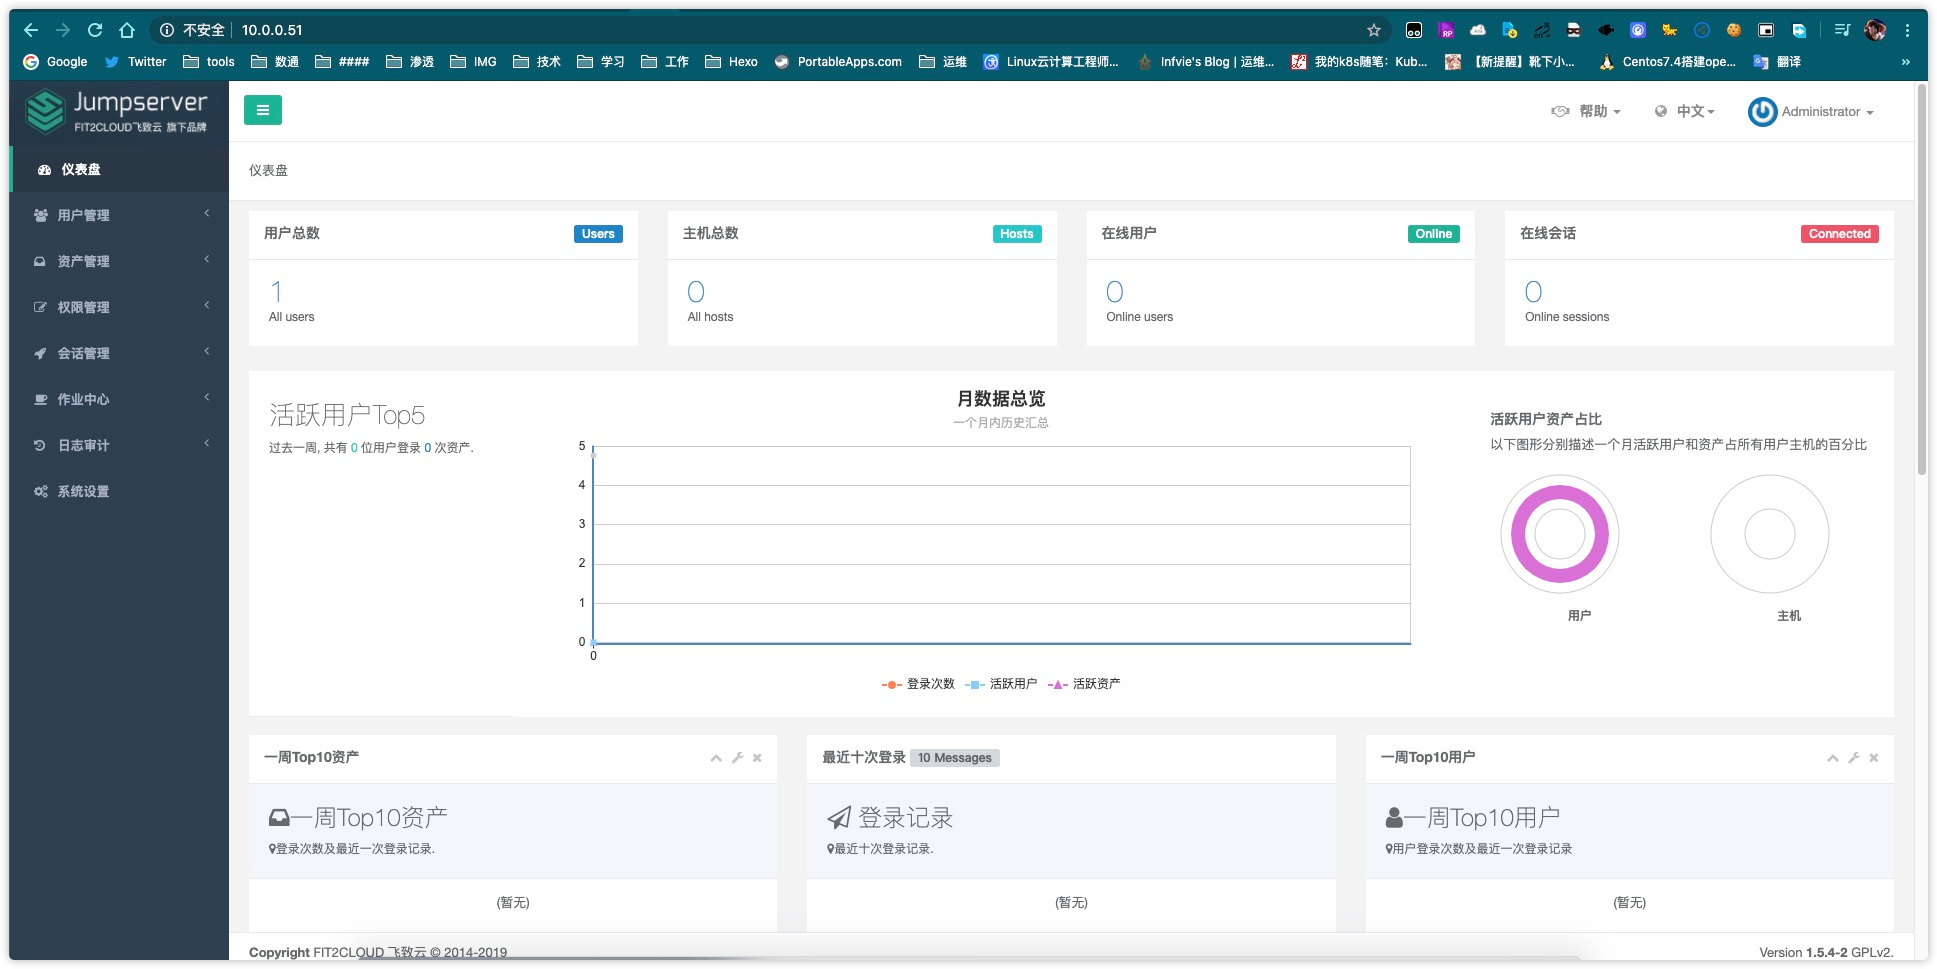
EOF12.测试:
账号:admin 密码:admin
13.踩坑:
1.ImportError: libmysqlclient.so.18: cannot open shared object file: No such file or directory 在处理mariadb时,删除了mariadb-libs。导致删除了MySQL的动态链接库。 解决方法: yum install -y mariadb-libs
2.TypeError: connect() argument 3 must be str, not intconfig.yml配置文件中第33行数据库密码必须是字符串!
3.koko重复注册失败,进入jumpserver->会话管理->终端管理删除服务器即可
(py3) [root@db01 /application/kokodir]# ./koko
2020-05-19 02:31:14 [ERRO] POST http://127.0.0.1:8080/api/v2/terminal/terminal-registrations/ failed, get code: 400, {"name":["名称重复"]}
2020-05-19 02:31:14 [ERRO] register access key failed


评论